> ## Documentation Index
> Fetch the complete documentation index at: https://docs.paylora.org/llms.txt
> Use this file to discover all available pages before exploring further.
# Development
> Paylora API integrations to your backend via webhooks and UI using API-key
## API integration into web app
Follow these steps to integrate Paylora API into your web app.
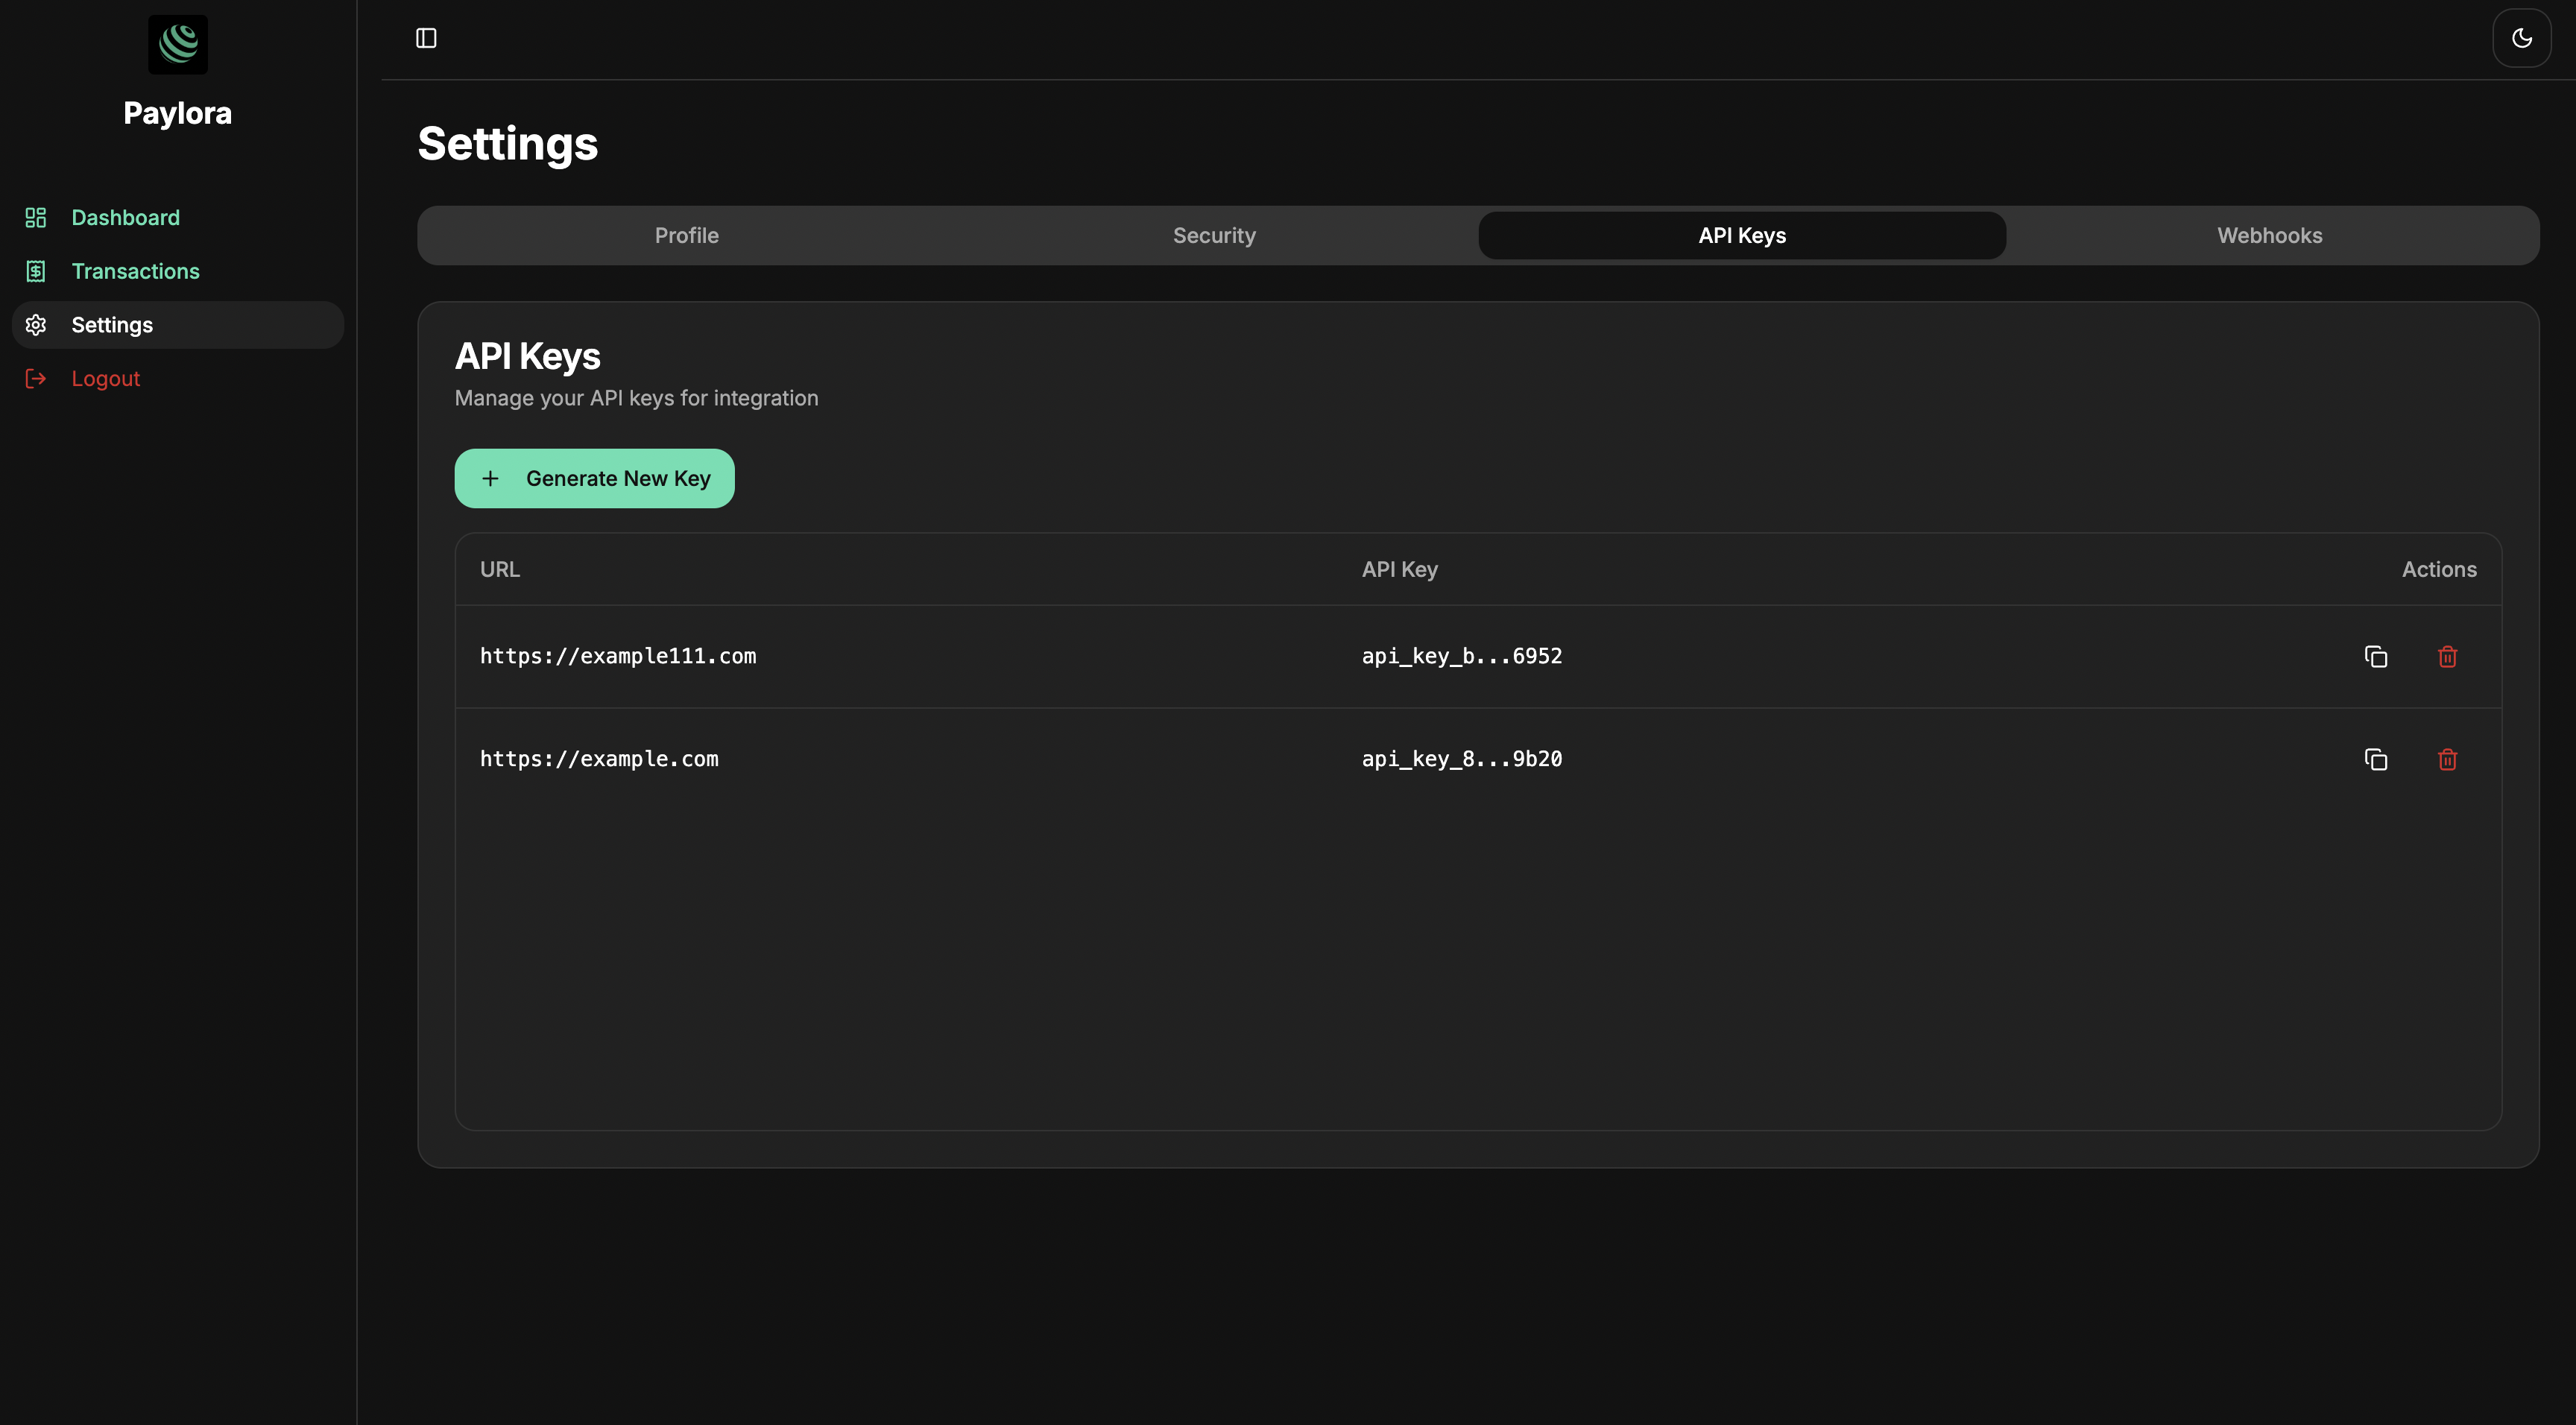
Click `Generate New Key`, and put url address of your website into field than click save
Use [create invoice endpoint](api-reference/invoice/create-invoice) to add this as your button handler
For get token list use [get tokens endpoint](api-reference/token/get-a-list-of-tokens)
Network type is
```typescript theme={null}
export enum NetworkType {
ARB_SEPOLIA = 'ARB_SEPOLIA',
ETH_SEPOLIA = 'ETH_SEPOLIA',
BASE_SEPOLIA = 'BASE_SEPOLIA'
}
```
React.js sample
```typescript theme={null}
export default function CreateInvoice(props) {
const { amount, token_address, network } = props
const createInvoice = async () => {
const res = await fetch("https://api.paylora.org/api/v1/invoice/create", {
method: "POST",
headers: {
"Content-Type": "application/json",
"Autorization": "Bearer "
},
body: JSON.stringify({
amount,
token_address,
network,
}),
});
const data = await res.json();
// redirect user to checkout
window.open(data.url, '_blank');
};
return (
);
}
```
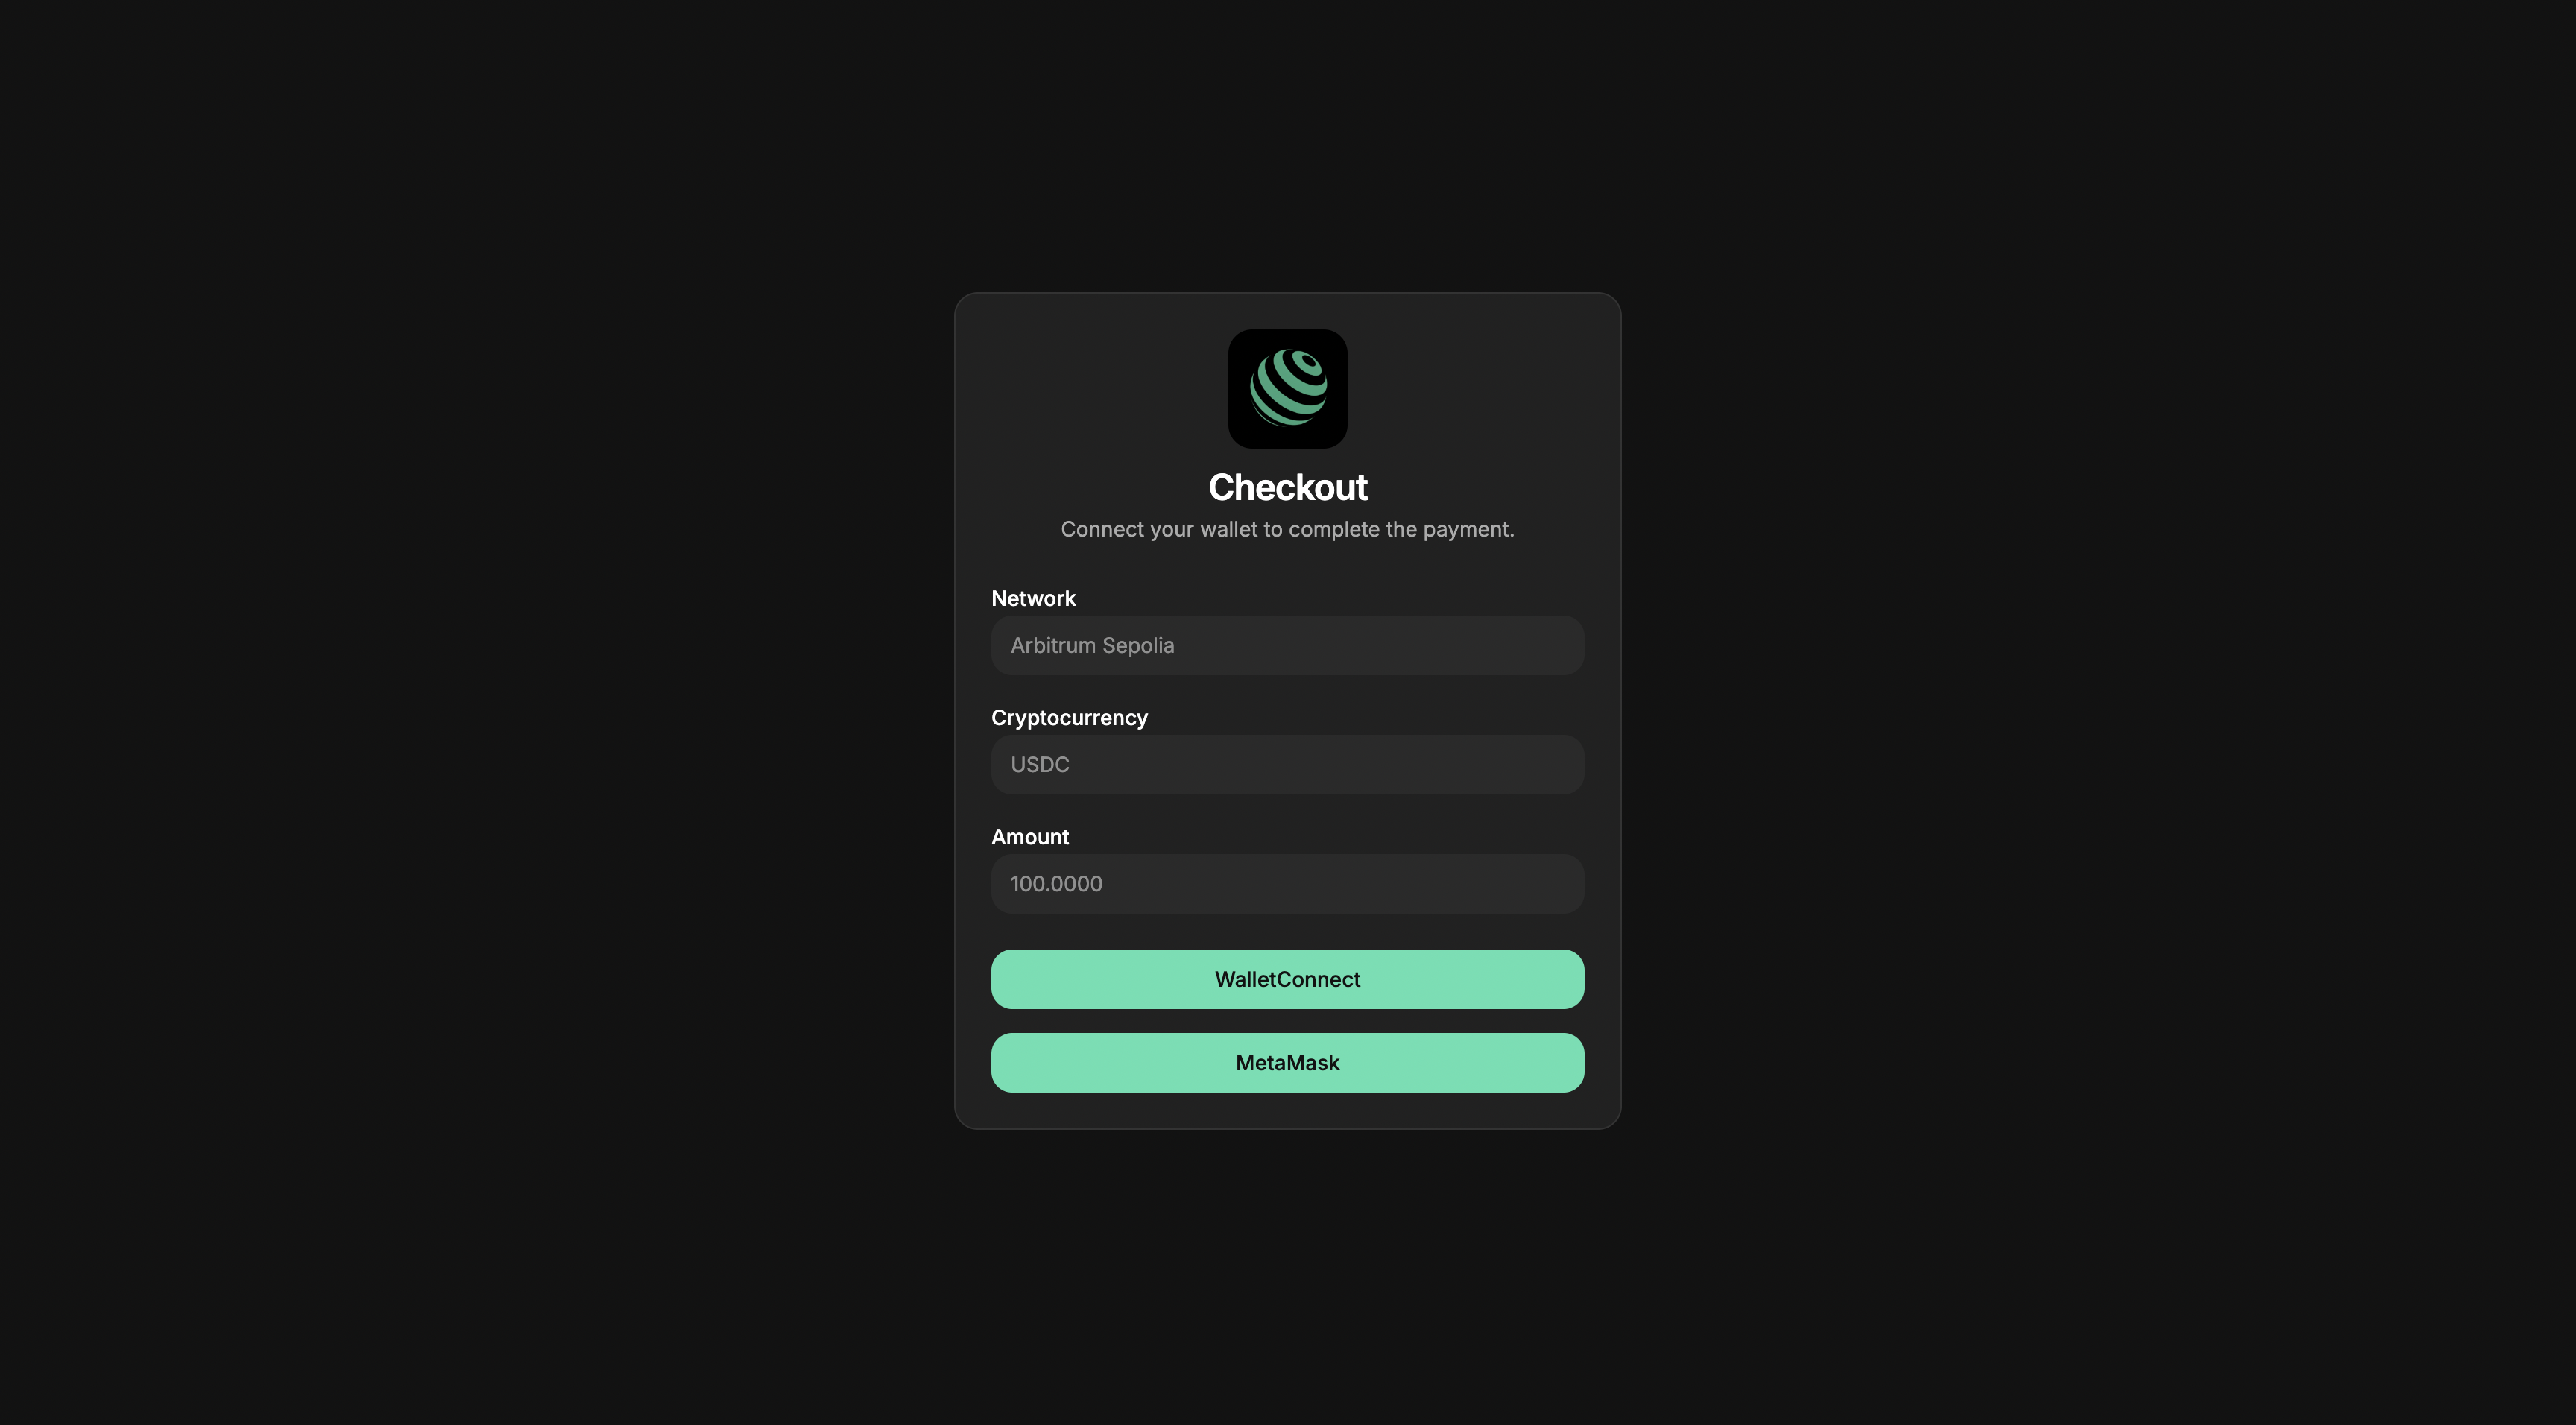
After click user will redirected into checkout page.
Checkout page where user can connect wallet and pay. See [crypto wallet guide](essentials/crypto_wallet)
## Webhook integration
Webhooks allow your application to receive real-time events, such as when an invoice is paid.
All webhook requests are signed to verify authenticity.
Follow these steps to integrate Paylora webhook into your web app.
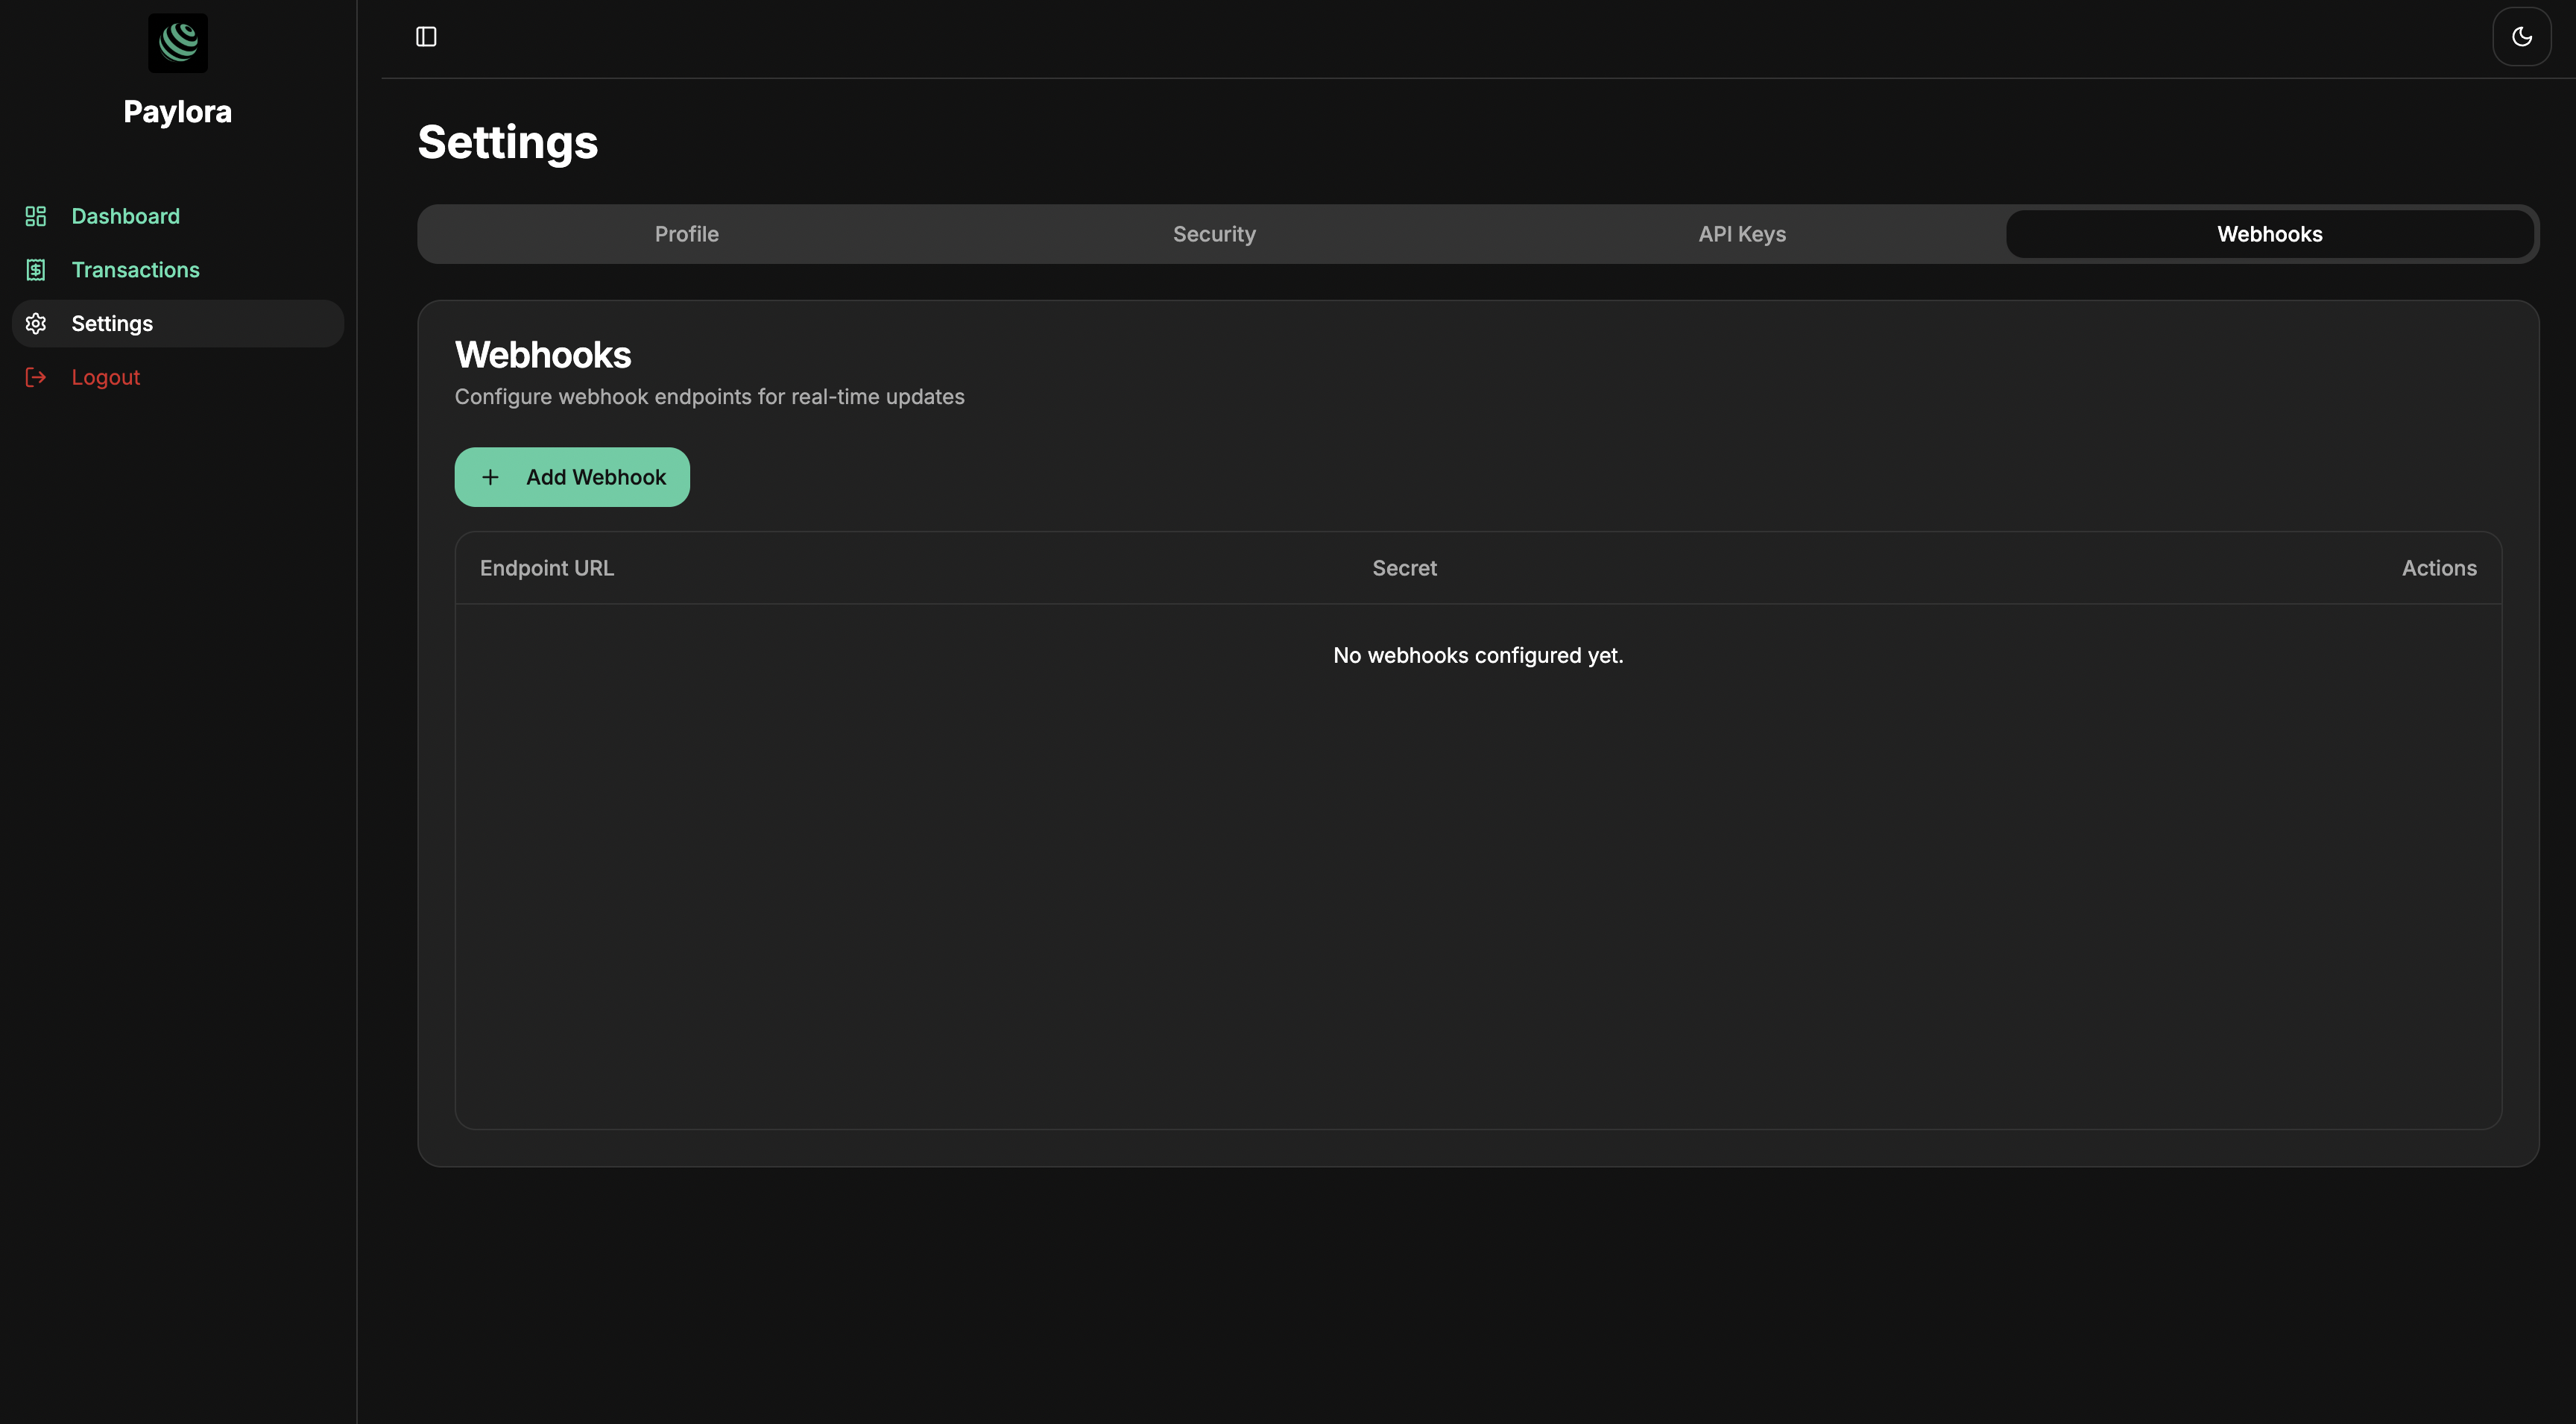
Click `Add Webhook`, and put endpoints url into field than click save
Your server should expose an endpoint to receive webhook events.
```javascript theme={null}
// server.js or index.js
import express from 'express';
import crypto from 'crypto';
const app = express();
app.use(express.json());
const WEBHOOK_SECRET = process.env.WEBHOOK_SECRET || 'your_secret_here';
function verifySignature(bodyString, signature, secret) {
const expected = crypto.createHmac('sha256', secret).update(bodyString).digest('hex');
return signature === expected;
}
app.post('/webhook', (req, res) => {
const signature = req.headers['x-paylora-signature'];
const bodyString = JSON.stringify(req.body);
if (!verifySignature(bodyString, signature, WEBHOOK_SECRET)) {
return res.status(401).send('Invalid signature');
}
// Handle the event
const { type, data } = req.body;
if (type === 'invoice_paid') {
console.log('Invoice paid:', data.invoice);
console.log('Token:', data.token);
// TODO: update your database or trigger business logic
}
res.status(200).send({ received: true });
});
app.listen(3000, () => {
console.log('Webhook server listening on port 3000');
});
```
Important Notes
* Verify the signature for every request. This prevents malicious requests.
* Respond with 200 OK after successful handling.
* Use HTTPS in production to secure the webhook URL.
* Retry handling: If the request fails, the webhook sender may retry, so make your endpoint idempotent.
Example Event Body
```javascript theme={null}
{
"success": true,
"type": "invoice_paid",
"data": {
"invoice": {
"uuid": "a1b2c3d4-e5f6-7890-1234-567890abcdef",
"user_uuid": "a1b2c3d4-e5f6-7890-1234-567890abcdef",
"status": "paid",
"amount": 100,
"fee_amount": 5,
"token_address": "0xAbC123...",
"contract_address": "0xDeF456...",
"network": "ARB_SEPOLIA",
"client": "0xDeF456...",
"hash": "0xHash123...",
"message_id": "12345",
"channel_uuid": "12345",
"customer_id": "123456789",
"chain_id": 11155111,
},
"token": {
"uuid": "",
"name": "",
"address": "",
"network": "ARB_SEPOLIA",
"decimals": 18,
"status": "whitelisted"
}
}
}
```